The success of your rubber surface, and how long it lasts, begins with your preparation. You can’t expect to apply concrete on a rough surface to come out smooth and last the test of time right?
How to prepare your area for rubber chippings:
Remove any pre-existing grass, weeds, tree roots, or anything else that’s growing or interfering with how smooth the ground is.
Next up is smoothing out the ground, which is easier after the previous step. Levelling is important to prevent water pooling and irregularities that could become tripping hazards.
On the topic of water pooling, having proper drainage in place is a good idea to help prevent any damage from mould.
After your ground is all smooth we recommend installing a semi permeable membrane, with roughly 3 inches of overlap between the secured seams, to prevent dirt or any other materials mixing, this will make your rubber chippings easier to clean – you can thank us later.
If there is likely to be heavy traffic, such as on a playground surface or in a horse arena, we’d recommend a minimum heavy duty gsm of 125. These may seem more expensive at first, but they will be more cost-effective (and time-effective) in the long-run if you think about it, to replace the membrane you’re going to need to take all the rubber surface back up and start again.
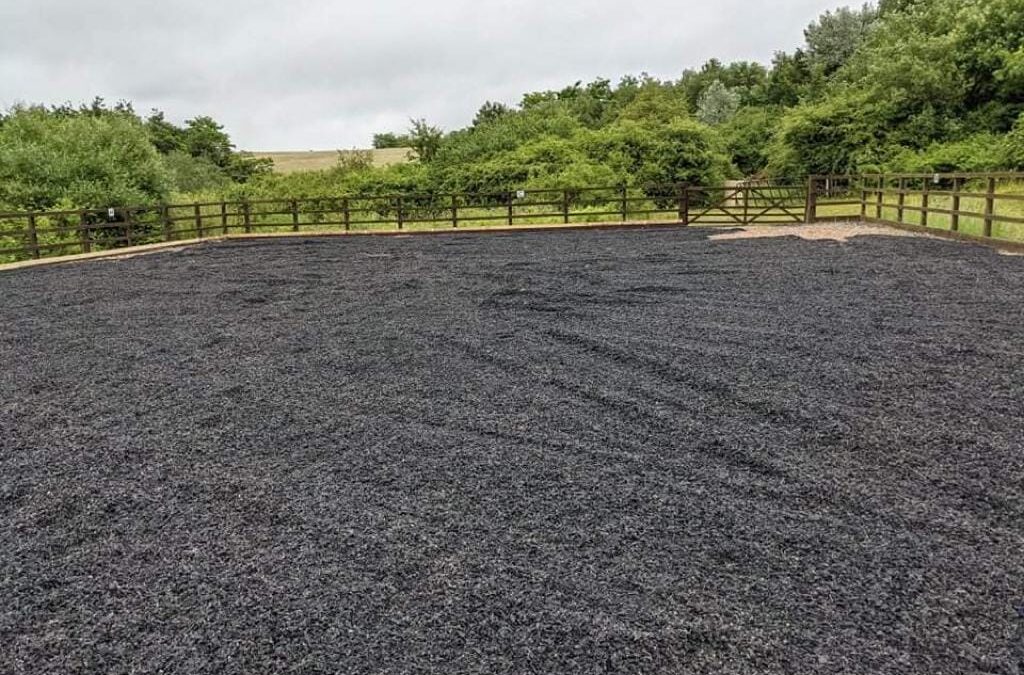
Once the surface area is prepared, and your membrane is down, it’s time to start placing your rubber chippings. Begin by making piles around the area using a wheelbarrow or bucket, once you’ve made good sized piles evenly around your area, spread it around using a rake or shovel. Once the surface looks even to the eye, check the depth with a measuring tape, and the even-ness with a long stick or string.
Lastly, check your boundaries, making sure you have a good edging to keep your rubber chippings in place will prevent them moving and spreading where you don’t need them.
What depth should your rubber surfaces be?
How deep should your rubber chippings be on a children’s playground?
We’d recommend a minimum of 75mm (about 3 inches) for a children’s playground in order to provide adequate support for play.
How deep should your rubber chippings be for a horse riding arena?
The depth of your chippings will depend on how fast you’re planning to ride, if you’re using your arena for horse riding lessons or sessions that don’t require more than a trot or canter, you’ll be fine with 75mm (3 inches). If you need your arena for more intense sessions with galloping or jumping, we’d recommend going for 100mm (4 inches) to make sure you’re covered with more movement.
How deep should rubber chippings be in a garden?
For garden landscaping we’d recommend 50 – 75mm, about 2 – 3 inches, for sufficient landscaping coverage.